Part 1 of 3 in the series Your New Pool, Protected: The Owner's Playbook for the First Year and Every Season After.
Your pool looks finished. The water is in, the equipment hums, and the yard finally looks like the rendering you fell in love with. But the surface under that water is not finished at all. Plaster keeps curing for weeks after the trucks leave, and during that stretch it reacts to everything you put in the water. Get it right and you get a smooth, even finish that lasts decades. Get it wrong and you get gray blotches, rough patches, and scale rings no amount of scrubbing will remove.
This series was built with insights from H2O Pool Service, whose field experience with new-construction startups shaped the timelines and warnings here. Their point is worth repeating: almost every permanent plaster defect a homeowner calls about started as a small chemistry decision in the first month.
Soft, Porous, And Still Changing
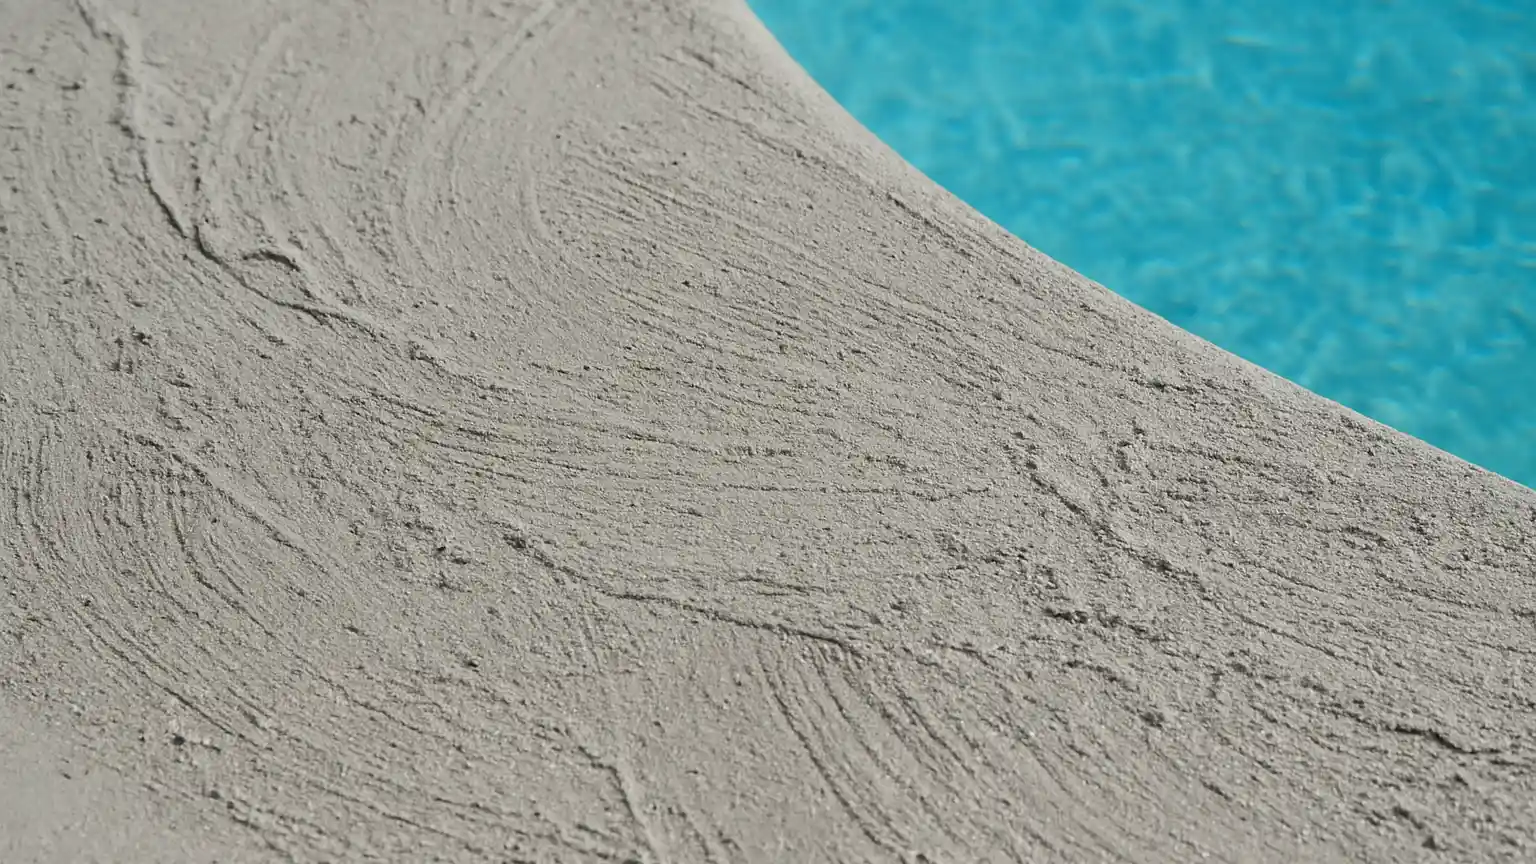
New plaster is mostly cement, and cement keeps hardening long after it feels solid. For the first several weeks it is soft, porous, and chemically active, leaching calcium hydroxide into the water and pushing pH upward fast. That rising pH is not a nuisance, it is the whole reason break-in care exists. Two opposite failures can happen during this window:
- Etching: water that is too soft or too acidic pulls calcium out of the surface, leaving it rough, chalky, and dull.
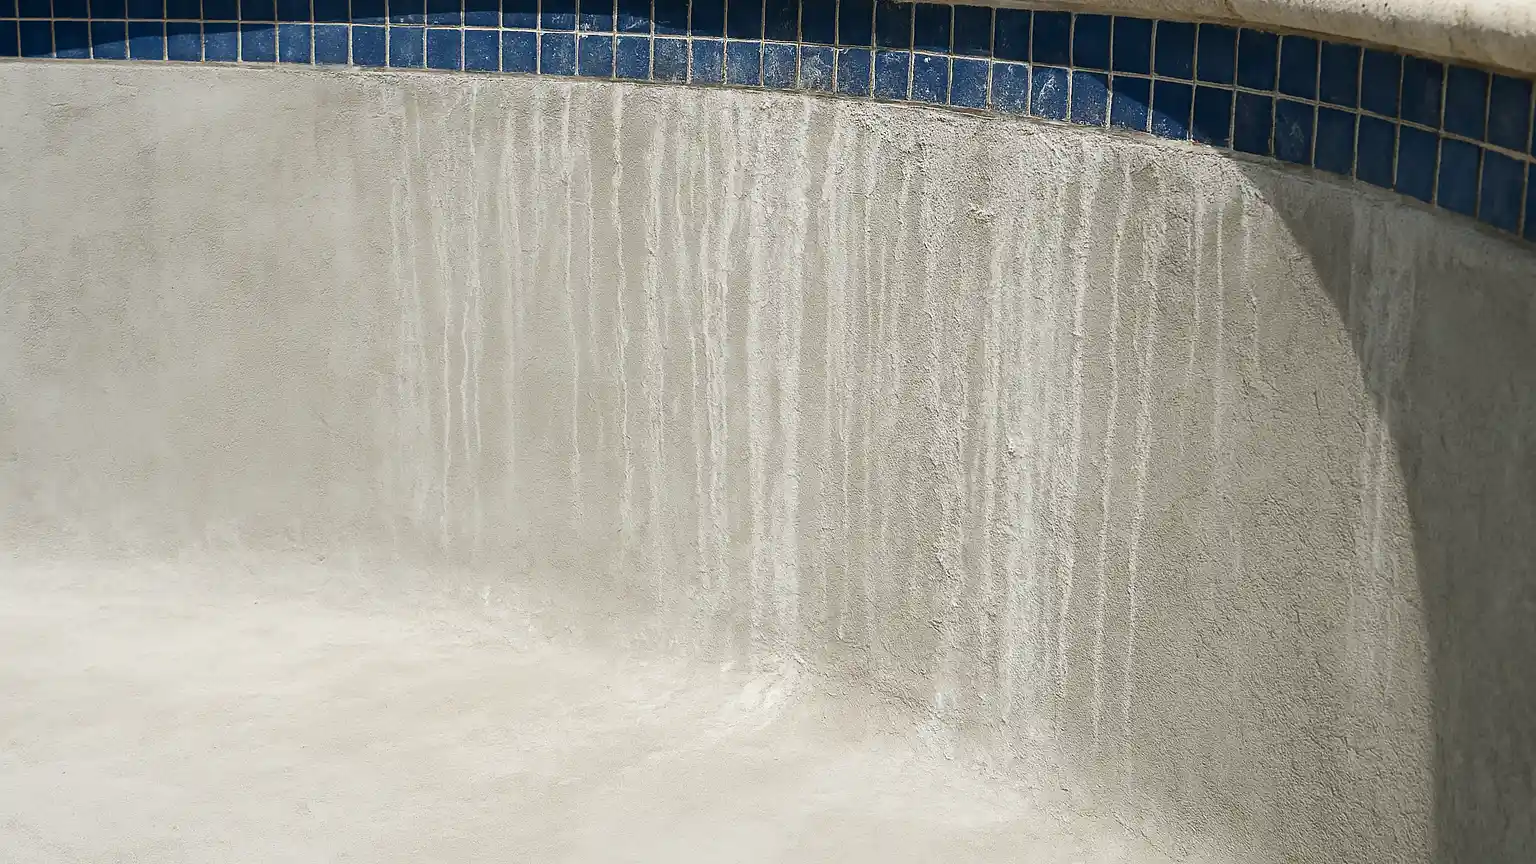
- Scaling: water that is too hard or too high in pH deposits calcium back onto the surface as a white crust or gray streaking.
Both are permanent without acid washing or refinishing. Both are avoidable with a brush, a test kit, and a little patience.
Why Daily Brushing Earns Its Keep
Brushing is the single most valuable thing you will do in month one, and it is the task most new owners skip. Curing plaster sheds a fine dust of calcium and cement particles, and if that dust settles and sits, it bonds back to the surface in blotches. Brushing lifts it into the water so the filter can capture it, and it smooths trowel marks while the surface is still workable.
What The First Four Weeks Look Like
- Days 1 to 14: brush the entire pool twice a day, walls first, then the floor toward the main drain.
- Days 15 to 28: once a day is enough, but do not skip days.
- After day 28: shift to your normal weekly rhythm.
Brush Like You Mean It
Use a soft nylon brush on standard white plaster. Steel or stainless bristles belong on gunite and certain aggregate finishes only, and the wrong one leaves scratch lines that show up the moment sunlight hits the water at an angle. If you have an exposed aggregate finish, the brushing rules shift slightly, which is covered well in guides on pebble tec pool maintenance and worth reading before your first pass.
Slow, overlapping strokes beat fast scrubbing. Pay extra attention to steps, benches, tanning ledges, and the corners where the floor meets the wall, the low-flow areas that collect plaster dust first and stain first. A full brush of an average residential pool takes ten to fifteen minutes, and that is the price of a finish that still looks new in year fifteen.
Startup Numbers Worth Testing Daily
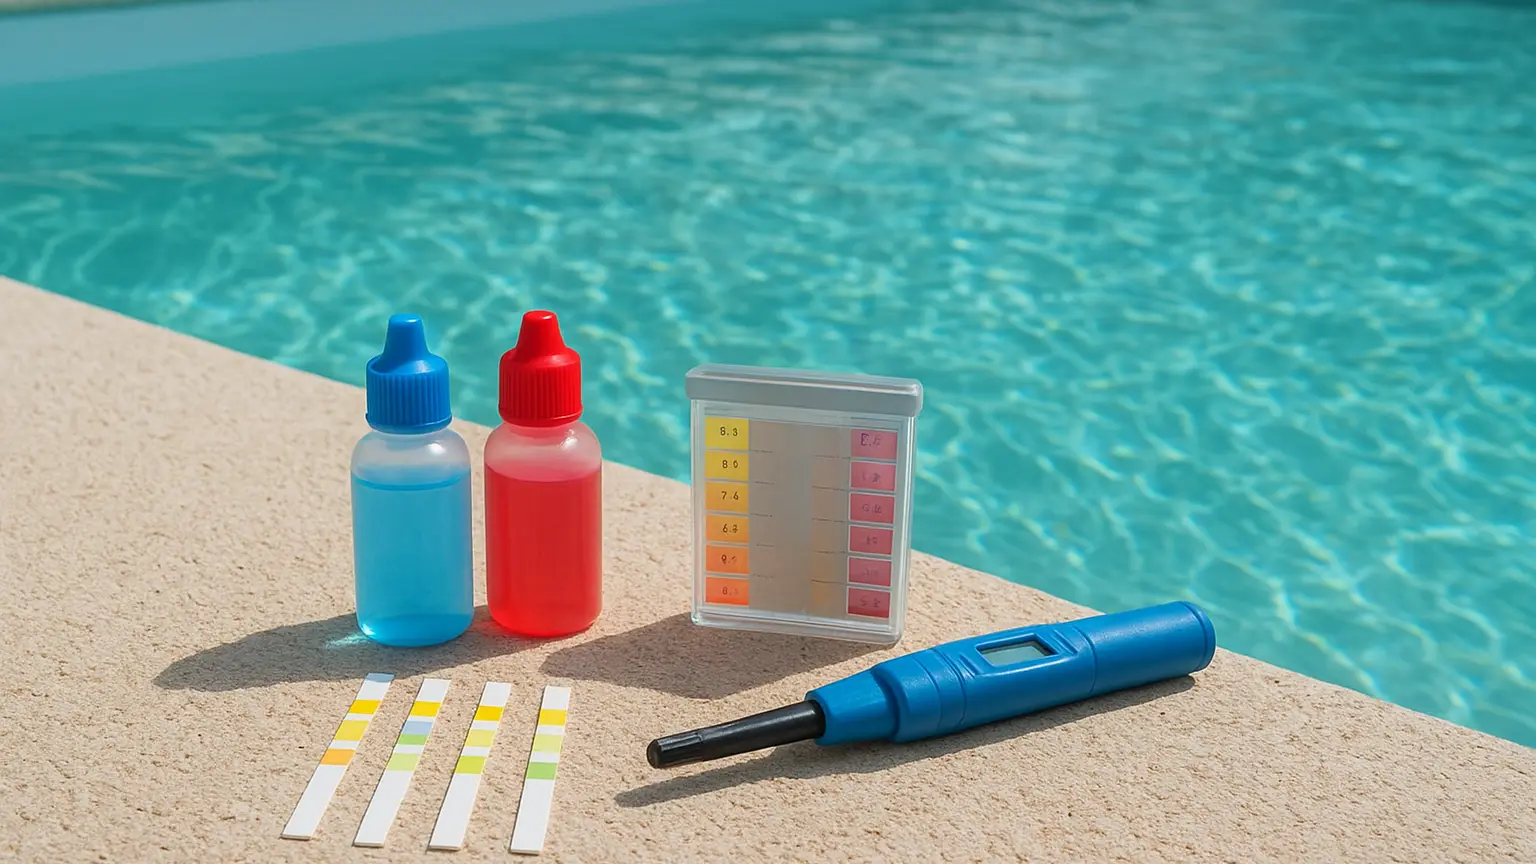
Startup chemistry is not maintenance chemistry. You are not just keeping water clear, you are keeping it calcium-neutral so it neither eats the plaster nor loads it with deposits. Test daily for the first two weeks. Not weekly. Daily.
Where To Hold Your Numbers
- pH: 7.2 to 7.6. New plaster drives this up constantly, so expect to add acid in small doses.
- Total alkalinity: 80 to 120 ppm. This is your buffer against wild pH swings.
- Calcium hardness: 200 to 275 ppm. Fill water below 150 will pull calcium straight out of the surface.
- Chlorine: hold off entirely for the first 48 to 72 hours, then bring it in gently at 1 to 3 ppm.
- Cyanuric acid: wait. Stabilizer can be added after the first week or two, once chlorine is established.
Add acid slowly and in a wide arc while the pump runs. Dumping a jug into one spot creates a concentrated pocket that etches a permanent light patch on the floor. Never broadcast granular chemicals across a new surface either. Anything undissolved that lands on soft plaster leaves a mark, which is exactly why the question of whether can you put chlorine tablets in the skimmer or the water matters so much during break-in. Pre-dissolve in a bucket, every time.
Watch For The Early Warning Signs
Cloudy water in the first week is normal and usually plaster dust. Cloudy water that will not clear after two weeks of good filtration is not. A gray or mottled floor developing in patches means chemistry is drifting. Brown or greenish shadows near returns often point to metals in your fill water reacting with new chlorine.
Circulation Habits For The First Month
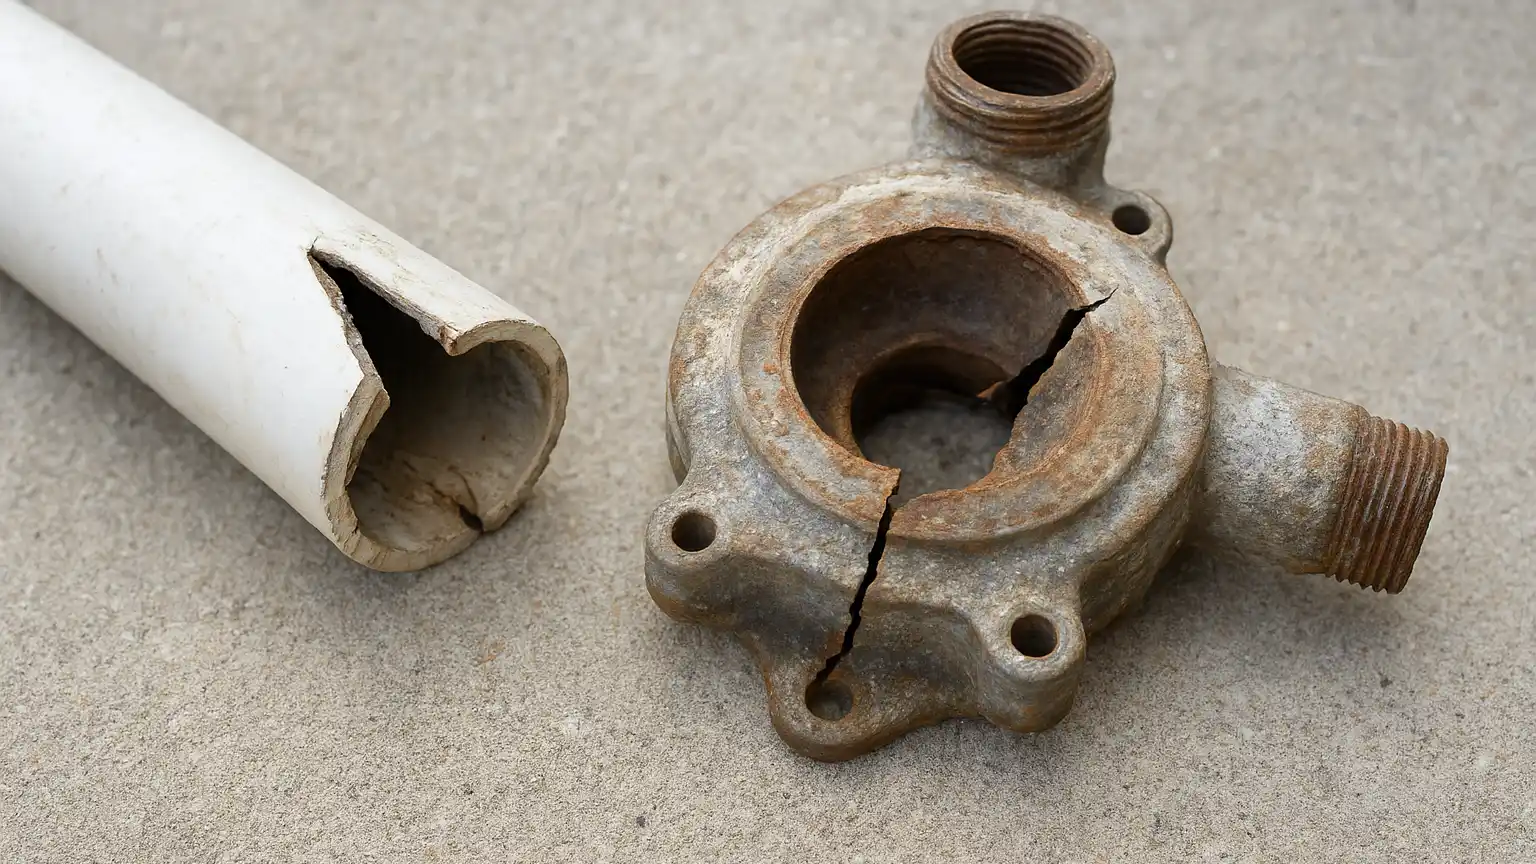
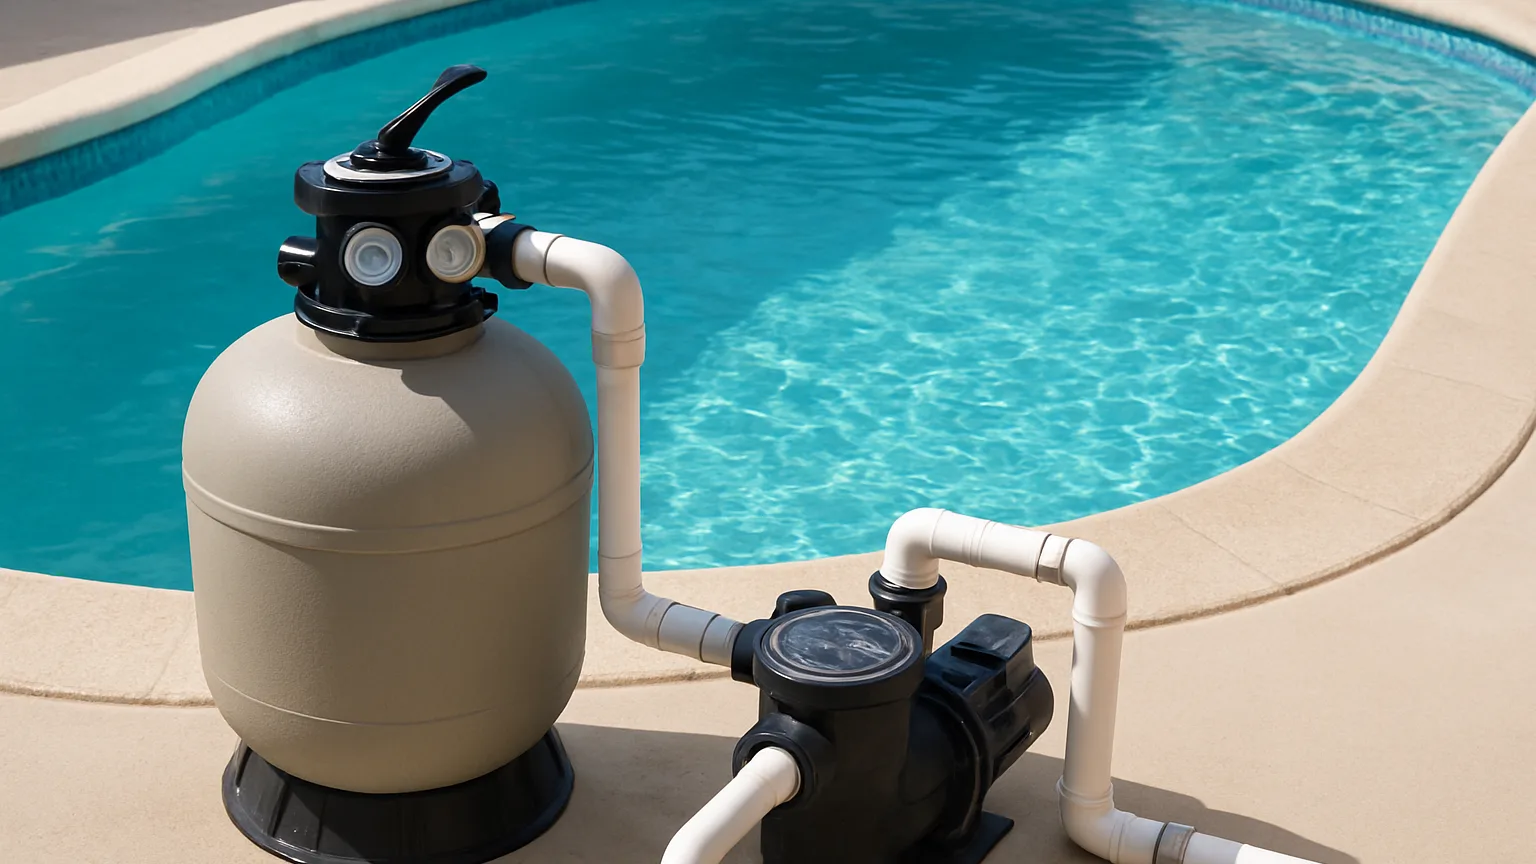
Your pump does not get a break during startup. Circulation keeps plaster dust suspended, distributes chemicals evenly, and prevents the stagnant pockets where staining begins. Run the filter continuously, 24 hours a day, for the first 72 hours minimum, and many builders extend that to a full week. After that, taper to 12 to 16 hours daily through the end of month one before settling into a seasonal schedule. On a variable speed pump, keep the speed higher than usual, because turnover matters more than energy savings right now. And if the pump trips off or loses pressure in this window, getting a faltering pump serviced is urgent in a way it never is later, since every idle hour lets curing dust settle onto a soft surface.
Filter Care In Month One
- Check pressure daily and clean or backwash whenever it rises 8 to 10 PSI above the clean starting reading.
- Expect to clean a cartridge filter two or three times in the first month, far more often than normal.
- Empty skimmer and pump baskets daily, since construction debris finds its way in for weeks.
- Do not add clarifiers or flocculants unless your builder tells you to. They can drop plaster dust right back onto soft plaster.
Newly installed equipment also needs watching. Listen for cavitation, look for weeping at unions, and note any pressure reading that behaves oddly, because small issues caught now stay warranty conversations instead of turning into equipment repairs down the road. Log your clean filter pressure on day one and keep that number somewhere you will find it later.
The Don't List: Rules That Save Your Finish
Most break-in damage does not come from something you failed to do. It comes from something you did too early because the pool looked ready.
Wait On These, No Exceptions
- No swimming until your builder clears it, typically 7 to 14 days and only after chlorine and pH hold steady. Body oils, sunscreen, and sudden chemical demand are hard on curing plaster.
- No heater for the first 14 to 30 days. Warming the water accelerates calcium precipitation and is a fast route to scale.
- No vacuum heads with wheels or brushes for at least 21 to 28 days. Hard plastic and metal edges gouge soft plaster. Brush instead and let the filter do the work.
- No automatic cleaners or robots for a full month. They track the same paths and wear grooves.
- No salt in a saltwater system until the surface has cured, usually 28 to 30 days.
- No lowering the water line below the tile. A partially drained new pool can crack or lift.
- No pets in the pool during break-in. Claws leave permanent scratch trails.
Fill Water Deserves A Second Look
Not all fill water is equal. Well water frequently carries iron, copper, or manganese that will stain fresh plaster within days of the first chlorine addition. Softened water is often too low in calcium and will start pulling minerals from the surface immediately. Test your fill source before the truck or hose runs, and add a metal sequestrant at fill if metals are present. That one step prevents the rust-colored blotching behind so many swimming pool water colors troubleshooting searches a month after startup.
Keep a simple log alongside all of it: the date, your test readings, what you added, and how long the pump ran. Thirty entries is all it takes. If a problem appears, that log tells a technician exactly where the water drifted, and it protects you if a warranty question comes up.
What Month Two Asks Of You
The first 30 days are unforgiving because the surface is still deciding what it will be. Brush twice a day early on, test daily, hold pH between 7.2 and 7.6, keep calcium hardness in range, run the filter hard, and keep heat, salt, wheels, and swimmers out until the plaster has cured. Those habits are not complicated. They just have to happen on schedule, because the window does not reopen.
Once you clear day 30, the intensity drops but the attention does not. Your pool shifts into a maintenance rhythm, and that rhythm is where most long-term problems are either prevented or created. That is exactly what comes next, when water is turning on you takes over with the weekly routine that keeps algae, staining, and equipment strain from ever getting a foothold. Later in the series we look at seasonal transitions, including how beat the freeze protects your plumbing and equipment when temperatures drop. Your pool is new exactly once. Treat this month like the investment it is.
Recent Posts